So! As you all know, i am now a working mama. And that alone has my plate over-filled with things to do, people to see and babies to snuggle. . . . Apparently, that was not enough for me (lol). In addition to being an ever-trusty cashier, i am now also the new scrapbooking instructor at Michaels in Avon,MA!
Unfortunately, a teacher is only as good as her students. . . and right now I'm no good since i have a total of zero students. That's where you come in my lovely readers!!
Whether you are just starting to venture into the scrap booking world or have been scrap booking for years; we have something for everyone. My first class is Martha Stewart's "Punch Around the Page" The class fee is only $10,plus cost of supplies(but you get a 10% discount of f the cost of your supplies if you show us your class registration at check out). In this class you will learn how to: Create a four-sided border, Layer punched elements and much more!
This class is a one-time, 2hr long class on Friday,September 2nd, from 6p-8p.
If this sounds like something you would like to attend, come on down to Michael's in Avon and sign up!
Showing posts with label scrapbook. Show all posts
Showing posts with label scrapbook. Show all posts
Friday, August 26, 2011
Thursday, August 25, 2011
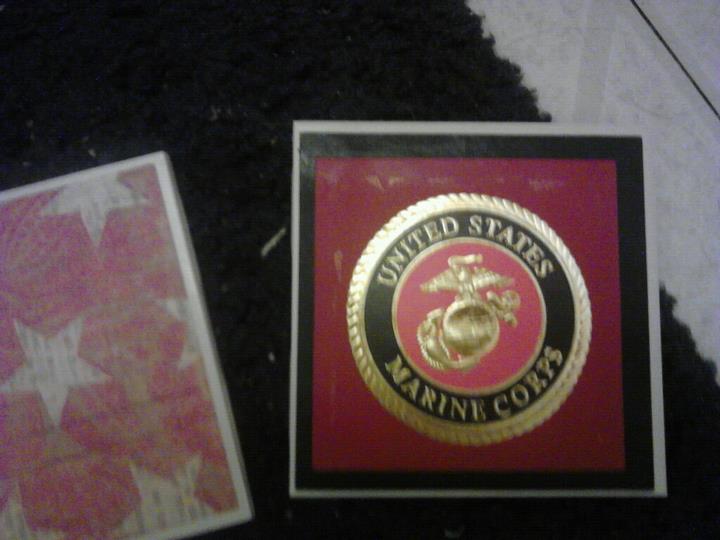
Hand-made Christmas: Tile Coasters
Have you ever gone to the store to buy something, and then not end up buying it because the cost was just outrageous? That is the feeling i used to have about coasters; but not anymore! I stumbled upon a tutorial for ceramic-tile coasters here via Pinterest(LOVE this website!) I followed the basic instructions but changed a few things, so here is my version of the tile coasters:
You will need:
6 white 4" ceramic tiles(.16 at Home Depot)
2-3 sheets of 12x12 Scrapbook paper of your choice
Home made modge podge*
Scrapbook stickers(these are optional and add a little bit to the final cost, but i decided to use them to make my coasters even more special to the person they are for)
Felt/silicone furniture pads(the silicone ones are called "bumpers" for some reason) 1/2" diameter
Acrylic sealant spray
Paper cutter
paintbrush
Cut your scrapbook paper down to size. If you have a Cricut, i suggest using that since it makes this step much quicker, but a good 'ole trusty paper cutter will do the trick if you don't have a cricut.
After the paper is cut down to size, line up your tiles.
Spread a thin layer of your "modge podge" on the tile first, carefully lay your scrapbook paper onto the tile and carefully smooth out any air bubbles. Spread another thin layer on top of the scrapbook paper, set aside to dry.
Repeat until all of your tiles are covered with the paper.
If you are using stickers, place the sicker where you want it on the tile, cover in a thing layer of "modge podge" and set aside.
Put 2 or 3 three more coats of "modge podge" on each tile, letting them dry fully before applying the next coat.
Turn over and adhere your "bumpers" to the bottom of each coaster.
Spray with the sealant, step back, and admire your awesomness!


If you decide to make these, let me know!! Comment here or shoot me an email at Sarawenzel59@gmail.com !
You will need:
6 white 4" ceramic tiles(.16 at Home Depot)
2-3 sheets of 12x12 Scrapbook paper of your choice
Home made modge podge*
Scrapbook stickers(these are optional and add a little bit to the final cost, but i decided to use them to make my coasters even more special to the person they are for)
Felt/silicone furniture pads(the silicone ones are called "bumpers" for some reason) 1/2" diameter
Acrylic sealant spray
Paper cutter
paintbrush
Cut your scrapbook paper down to size. If you have a Cricut, i suggest using that since it makes this step much quicker, but a good 'ole trusty paper cutter will do the trick if you don't have a cricut.
After the paper is cut down to size, line up your tiles.
Spread a thin layer of your "modge podge" on the tile first, carefully lay your scrapbook paper onto the tile and carefully smooth out any air bubbles. Spread another thin layer on top of the scrapbook paper, set aside to dry.
Repeat until all of your tiles are covered with the paper.
If you are using stickers, place the sicker where you want it on the tile, cover in a thing layer of "modge podge" and set aside.
Put 2 or 3 three more coats of "modge podge" on each tile, letting them dry fully before applying the next coat.
Turn over and adhere your "bumpers" to the bottom of each coaster.
Spray with the sealant, step back, and admire your awesomness!

Price break down:
Tile: 6 tiles, at .16ea. Total price : .96
Paper- 1.48(for 3 sheets)
Stickers- 2.24
Bumpers/furniture pads-3.74
Total- $8.42*
*These were more expensive because i decided to go with the silicone bumpers and stickers, i made another set without stickers and with felt bumpers, the price break down is below:
Without Stickers/silicone bumpers:
Tiles: .96
Paper: 1.00(4/$1 sale, so .25ea)
Felt pads 1.84
Total- $3.80
*How to make your own modge podge:
Pour 4oz of elmers glue into a container at least 9oz deep
Fill elmers bottle with hot water up to the top, but not over flowing
Pour into the container you poured the glue into
Stir
VOILA! Modge podge!

If you decide to make these, let me know!! Comment here or shoot me an email at Sarawenzel59@gmail.com !
Subscribe to:
Posts (Atom)